
Starting any new project sometimes can be a little scary. Diving into the analytics of your website can be terrifying!! You may be wondering: How much time will this take? Will I ever be able to understand it? Do I have the skills necessary? Do I have the time needed?
While many website owners have heard of Google Analytics, most have never worked with or studied GA (Google Analytics) reports on their website. These reports allow you to track and monitor the traffic on your website.
Google Analytics DIY
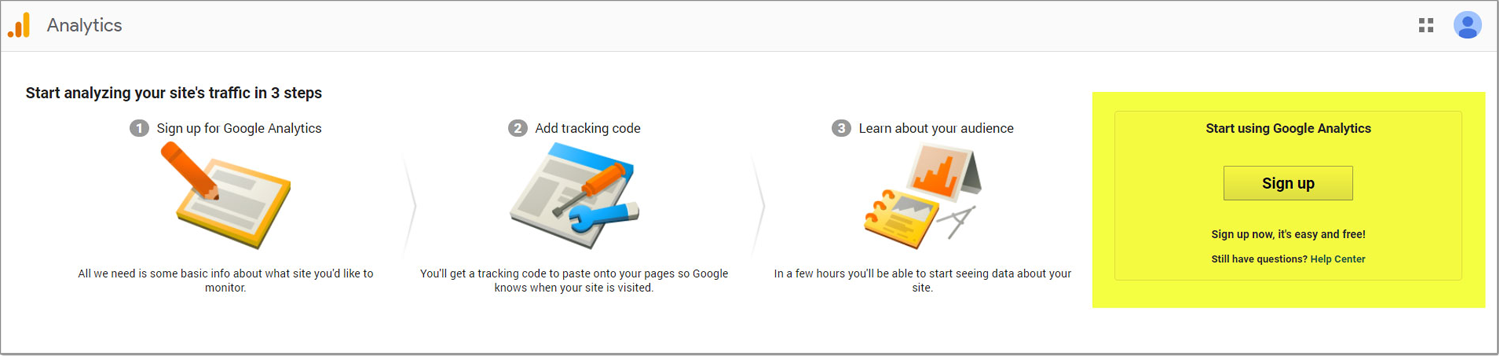
We are going to be featuring a Google Analytics DIY series in the upcoming posts. Designed to help you set up, manage, and monitor the analytics of your website in simple, easy to understand terms.
The first in this series will provide you with the basics to Get Started in GA. In this lesson, we will walk you through setting up your GA account including adding the analytics tag to your site. This tag is required and necessary in order for the tracking to begin.
Let’s dive in.
STEP 1
Go to google.com/analytics. Here you can create an account or use your existing Google account to login.
STEP 2
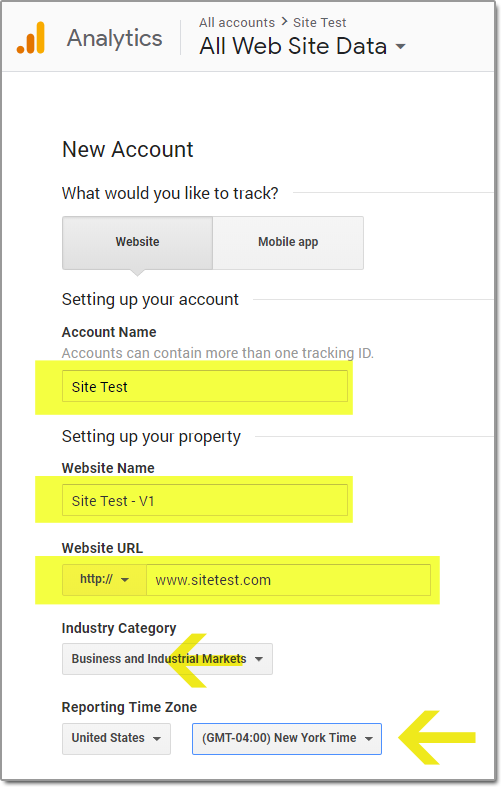
Begin setting up your account and add your website. You will need to add the information unique to your site by setting up a ‘Property‘ in your GA account.
Setting up a New Account
Choose to track your website or mobile app, in this tutorial we will be focusing on setting up your website.
Name your account.
More than likely this will be the name of your business.
Enter the name of your website.
If you plan of tracking different versions of your website be specific in this name in order to keep your GA account organized.
Enter the Web Site URL.
You cannot create a property if your URL isn’t formatted correctly, make sure you are using the correct protocol, i.e. http:// or https://. We suggest always having the SSL certificate installed, which can be easily installed through the control panel of your website. If you are unsure how to add an SSL certificate, contact your host provider for help with installing.
Interested in doing it yourself?Check out an industry leader in website security, Sucuri’s Guide to installing SSLs.
To see the correct protocol for your URL, go to the Home page of your website and copy the URL from the address bar.
Choose your Industry Category.
Once you set up your analytics tracking you will be able to use ‘Goal‘ templates within Google Analytics to help measure the success of your site.
Select the Reporting Time Zone.
Once the analytic tracking begins, this time zone will be used in the reporting. The time zone setting affects how data appears in your reports. The beginning and end of each day is calculated based on the time zone you choose, regardless of where the sessions are detected.
Step 3
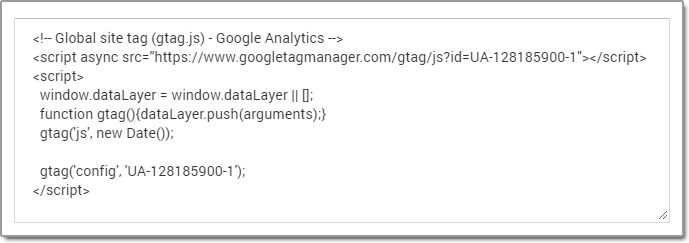
Get Tracking ID.
Your property is created after you select ‘Get Your Tracking ID‘. You will then need to add the tracking code to your website to begin collecting the information about your site.
The tracking code will need to be placed in the header of your site. If using WordPress, you can use a plugin to easily add code to the header tag of your site. Additionally, you can use an SEO plugin to add the Universal analytics code to your site.
If you do not have access to your website dashboard, cpanel or admin you will need to contact your website administrator to insert the code properly.
Once the code is installed on your site, your Google Analytics tracking is set up and you can begin monitoring the performance of your website. All stats will begin as soon as the tracking code was installed on your website. Please note, there will be no history prior to you setting it up.
“The most valuable thing you can make is a mistake – you can’t learn anything from being perfect”
– Adam Osborne
Stay tuned next week for the next edition in our Google Analytics DIY Series.